Showing posts with label Tutorials. Show all posts

Monday, April 29, 2013

Drab to Fab!

 
I finally got some fake TOMS:p
(Is it strange to be so excited over knock-offs?)
So of course I wound up with 2 shoe boxes. I can never throw them away! They can be used to keep me organized and store things. This time I decided to dress them up!
 Here are my boxes.
 I chose my fabric...I stuck with an old flower sheet and this black and white fabric I didn't know we had!
 I laid the top of the box out on the fabric and cut enough all the way around to sew to the inside of the box.

 I did the same with the bottom. Then I ironed them.
 I hot glued the edges to the insides of the box.
 I wrapped the edges like you would wrapping paper on a gift.
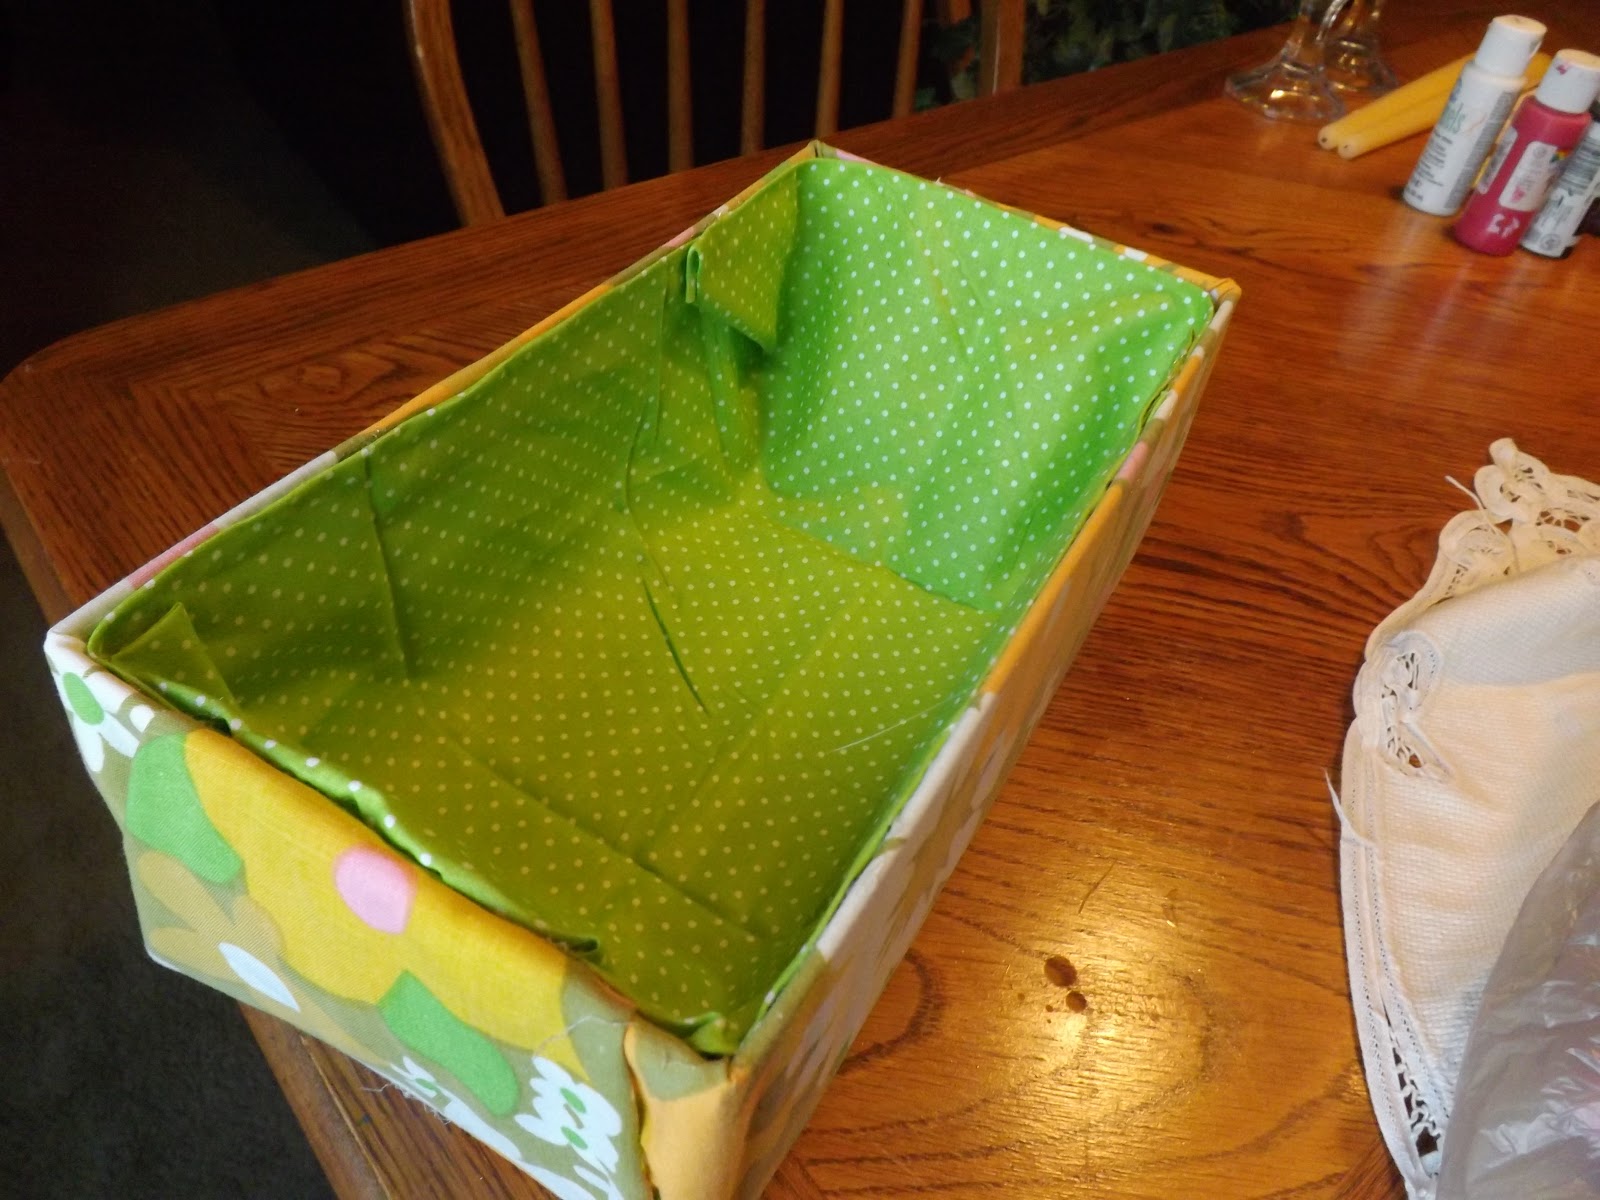
 So I had my box! The inside looked rough with all my glueing. Time for a lining!
 I measured the fabric,cut it out, and then glued the folded ends together.
 I did the same thing with the smaller box.
 My finished product:)
 So fun! I will do this with all my shoe boxes from now on!
Have a great day!
-Emily

Wednesday, April 24, 2013

Chocolate Chip Cookie Creams: Homemade:)

 A lady at my church makes these chocolate chip cookies,puts cream cheese icing in the middle, and makes a sandwich. They are SO good! So then Little Debbie must have copied her because now she has them:/ Little Debbie's take is awful!!
So I am going to give you my recipe for chocolate chip cookies made out of cake mix,and then I'll show you the finished product:)
 
You will need:
-One box of yellow cake mix
-1/2 cup of oil
-2 eggs
-1 pkg of semi-sweet chocolate chips
 
Mix cake mix,oil,eggs,and chocolate chips thoroughly. Scoop them as large as you want. You want pretty big ones for the cookie sandwich:)  Place them on a non-stick cookie sheet and put in the oven at 375. Cook about 15 minutes or until the sides are golden brown.
 This is the icing I used.
 Making the sandwich is the best part:p

Nope, sorry, eating it is the best part!
-Emily

Saturday, February 9, 2013

Ways to get organized-Part 1: DIY $5.00 makeup displays

 HI:D
So I have been trying to organize my room lately. I of course went straight to Pinterest! I found some really cute ideas! I got inspired (as always) and decided to get crafty. I didn't want to spend a lot of money so I headed to the dollar store to get all the things I needed to make these cute displays:)
 (Please excuse the picture quality)
I bought all of this at Dollar Tree. Four glass candle jars,a candle stick holder,and some colorful beads.
 I filled up the round glasses with the beads and stuck my brushes in it.....

 I hot glued on of my square glasses to the candle stick holder....
 I wanted one to be higher than the other;) Then I filled them with beads.
 I made the labels with a paper bag and my stamp kit.

Very simple and very cheap! This project only cost me $5.00 to make!
Have a great day!
-Emily<3

Sunday, February 3, 2013

{Guest Post} Sarah's Little Random Thoughts

 
Hello! I am Sarah and Emily asked me to do a guest post on her blog. I honestly had no idea what to do for it. I can think of tons of things to post about till I am asked to one, then my mind goes blank! So I thought I would share my favorite homemade face mask.
This mask shrinks pores and makes your skin soft and it smells amazing.

4 cut Strawberries
1 T. Honey
1 T. Oat meal (powdered first in blender)
1 t. Lemon
Put all ingredients into a blender and puree’.
When ready rub all over washed face and let it sit for 15 minutes, then wash off with warm water and Tada! A nice soft face! If you want to use it to shrink pores I would first use a pore strip to clean out your pores and I would use it several days in a row. You can store it covered in the fridge for up to a week.
 
 
Hope you enjoy!
 
~Sarah :)


Tuesday, December 11, 2012

Fabric Covered Letter Tutorial

 So I haven't done many craft tutorials on here as of late. Mainly because I've been too busy to do any crafting! I got an opportunity this past week to fix up this wooden letter I have had for a year now.(did I just admit that??) So anyways, I knew I wanted to paint it and cover it with fabric. That's precisely what I did.
 Before
 My supplies.....
 I mixed the colors to get this nice pastel blue color.
 Painted.
I chose some fabric that we had on hand that would bring out the color that I had painted the letter.

 I cut it out smaller than it was traced because I wanted to be able to see what I had painted.
 I used Elmer's Craft Bond Adhesive spray to attach the fabric to the letter. Then I sealed it with the Mod Podge spray.
I let it dry and tada! My initial! I think I will put it on my wall,but I am not quite sure yet;)
-Emily<3

Friday, October 19, 2012

Feminine Friday:Nail Tutorial

 For today's Feminine Friday I have a nail tutorial for you! I have seen a design like this somewhere. Either through the blog world or on Pinterest;) By the way....I believe every woman in the U.S.A. is addicted to Pinterest now. I know I am! So anyway,I'm naming this tutorial Notebook nails. The name would better fit if I had used white as the base,but I liked the teal better:)
 SUPPLIES:
Wet n Wild megalast salon nail color-teal and comes with a manicurve pro brush.
French manicure white polish-with a fine tipped brush
Red nail polish-I used color workshop. Use the standard brush or you could use a toothpick.
 Step 1: Start off with your base color. Mine was the teal in this case. Make sure your nails are fully covered and dry before you move on to the next step.
 Above:WetnWild megalast. Gr8t stuff!
Step 2: Use your fine tip brush and paint on your white lines. Three lines on each finger.
Step 3:Using your standard nail brush,make your heart with your red polish. Paint two dots and then use the side of the brush to finish out the bottom of the heart.
Hope you guys enjoyed this!
-Emily<3
"Don't cry because it's over. Smile because it happened."-Dr.Seuss

Tuesday, July 24, 2012

I glitzed my ipod case!!

I love sparkly things! If you visit my Pintrest you'll see! So I kind of got bored with my Jelly Bean ipod case,so I decided to do something about it. I choose my colors for the sparkle and took off!

Sparkled Ipod Case
 So pretty!
 This is the front of the case....
 and here is the back.
 I painted my case purple and covered it with a polyurethane(you don't have to use this step) I wanted the case to match my stones.
 Then I took the glue gun and attached my gems. Alternate colors;)
This was the finished results. Cute!
Have a great day!
-Emily<3